How To Lay Vinyl Sheet Flooring Dubai In Steps | Installation Guide
Flooring improves a property’s functionality, aesthetics, and value. When choosing flooring, one first considers durability, functionality, and appearance. So, here comes the vinyl sheet flooring, which is perfect in all aspects and is a cost-effective solution.
Unlike different options, vinyl flooring offers a detailed installation process. To save money on employing installers, you can do it yourself and lay down these sheets effortlessly. In this report by Flooring Dubai, we’ve provided some easy and simple steps for installing vinyl flooring so that your residential and commercial spaces can have an attractive look.
Method #1: Steps To Loose Lay Sheet Flooring
Loose-lay vinyl sheets are recommended for small spaces like kitchenettes and bathrooms. Before you begin the installation, collect all the needed tools to avoid later-on disturbances.
What Supplies & Equipment You’ll Need?
- Manual screwdriver
- Putty knife
- Tape Measure
- Oscillating multi-tool
- Pre-mixed Floor Patch
- Level Compound
- Cordless Drill & Driver Bits
- Double-sided Flooring Tape
- Utility knife and Rags
- Pry bar & Trowel
Prepare Floor Subfloors
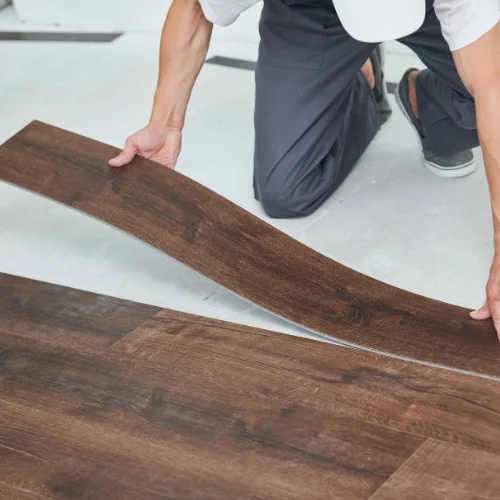
The next step is preparing the subfloor, which can be done using a level compound and pre-mixed floor patch. To level and smooth out the low spots to a maximum thickness, spread the level compound over the uneven surface to treat all the gaps, seams, and gouges. When you get a levelled or flat surface, let the compound dry for some time.
Cut Door Trim & Sheets
To ensure a secure finish, you can use a multi-tool to cut the door trim by ⅛ inches. Wooden blades can effectively cut the door trim when used with a multi-tool. You can also remove and re-install the trim after these sheets are installed. Also, calculate your room using tape measurements to cut the sheets to the exact room measurements. Keep the extra 4 inches to run the excess to the walls.
- The carpet’s color and pattern enhance the room’s decor and aesthetic.
- Considering maintenance needs and the carpet’s durability in high-traffic zones is vital.
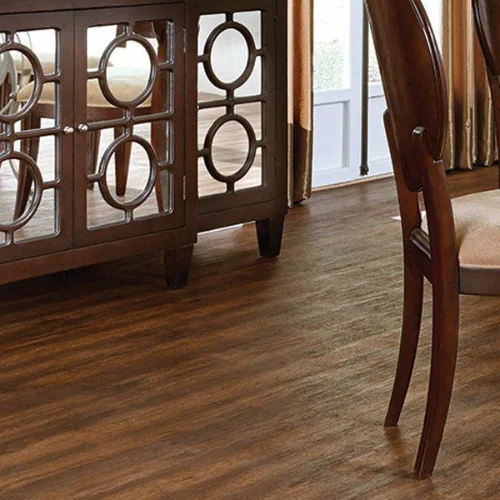
When laying down these sheets, first prepare the area by removing all the baseboards, shoe moulding, and trims. Removing them is mandatory because they could act as hurdles during installation. To remove these trims and moulding, you can use a prybar. Remove any accessory using a screwdriver and cordless drill.
Make Precise Cuts
Lay down these vinyl rolls in the intended room, ensuring they are ideally placed with no gaps. You can make marks for indication purposes, so it is convenient to make cuts. Cut the sheet where the wall and floor meet, ensuring the cuts are from the close corners so the gap can be hidden perfectly.
Apply Adhesive Tape & Lay Down a Sheet
Now that you’ve made precise cuts, remove the sheets from the floor, ensuring they stay flat. For secure installation, apply double-sided adhesive tape of good quality at all corners and high-traffic areas like cabinets and doors. You can use tape around all four room sides from the corners to ensure the sheet will lay down perfectly, ensuring no fold or bunch between the adhesive strips.
Method #2: Steps To Glue Down Your Sheet Vinyl Flooring
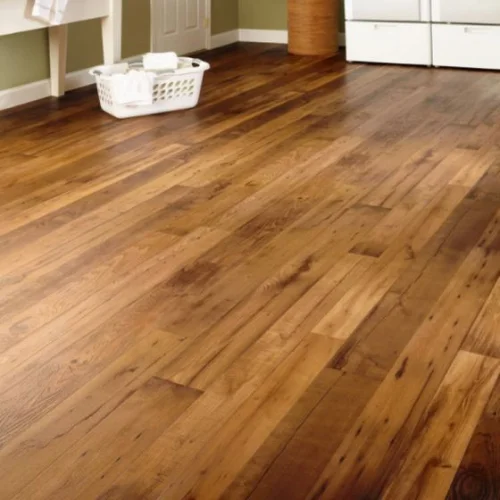
Essential Tools
- Trowel
- Roller (optional)
- Seam Sealer (optional)
- Sheet Vinyl Flooring
- Adhesive Material
- Caulk (optional)
- Underlayment
Apply The Adhesive Material
Lay out the vinyl rolls over the floor so they can pull back half of the portion. Now, apply sealant to the subfloor and underlayment using the notched Trowel. Make sure to apply the best-quality adhesive and cover only a small portion so it won’t become dry, as the adhesive has different settings and waiting times.
Cut And Nail Down The Underlayment
- Once again, ensure your floor is adequately prepared and ready for sheet fitting. You can take proper measurements to calculate the square footage of the estimated size you’ll need for a vinyl sheet. Please unroll the sheet flooring and cut it precisely using a sharp knife. Next, install the underlayment over the floors using nails while leaving a gap of at least ⅛ inches.
Apply Caulk & Smooth Out The Entire Sheet
The final step involves fixing seams, gaps, and edges against the moulding, sink, bathtub, or door trims using foam, acrylic, or silicon caulk. Silicon caulk can act as a water-resistant barrier. You can also connect seams using a stitching sealer. Lastly, double-check everything to get the job done perfectly.
To Sum Up
Laying vinyl sheets and rolls is a DIY-friendly project that can be handled perfectly with practical strategies and all the essential tools and materials. You won’t need to hire professionals for such an accessible floor-covering installation process. After clearing the mess, vacuuming, and preparing the subfloor, you can begin with the simple procedure.
With a double-sided tape application, loose-lay sheets can be fitted, and using quality adhesives, you can install sheets with perfection for long-lasting serviceability. After completing the process, you can install the trimming, baseboards, and shoe moulding back to give your floors a worthwhile and perfect finishing look. Hopefully, this step-by-step guide will help you with a comprehensive installation project.


